- What is Pylon CLI
- Functions
- Advantages
- Configure the Config file
- Custom build commands
- Custom run commands
- Preparation before use
- Install dependencies
- Install CLI
- Develop your first project in Pylon
- Create a development environment
- Start the development environment
- Stop the development environment
- Delete the development environment
Pylon CLI
What is Pylon CLI
Pylon CLI is a client tool that controls the Pylon development environment locally.
Functions
- Quickly set up a local development environment using the Git repository address.
- Manage all locally created development environments.
Advantages
- Low operation cost. You can set up the development environment locally with a single command.
- The locally created development environment consumes no extra resources and is free to use.
Configure the Config file
To get started with Pylon, you need to create a .pylon folder in your project and create a config.yml file in it.
image:registry: node:16.13.1-stretchnetwork:ports:- 8080:8080
Custom build commands
You can define build in config.yml, which defines commands to build applications.
build:command: npm install
Custom run commands
You can define run in config.yml to customize the command to start the application.
run:command: npm start
Preparation before use
Install dependencies
The following tools and extensions need to be installed on your computer:
Install CLI
Please download and install CLI (version: 0.1.0) before using:
Run the following command to install the CLI:
MacOS/Linux:
# It allows executing file as program$ chmod +x /path/to/pylon# if you don't have /usr/local/bin/ folder$ sudo mkdir -p -m 775 /usr/local/bin$ echo 'export PATH=$PATH:/usr/local/bin' >> $HOME/.bash_profile# Move pylon to /usr/local/$ sudo cp /path/to/pylon /usr/local/bin/# Check if pylon works$ pylon -v
Windows:
- Download the Pylon file
# Download the file$ curl -LO "https://static01.teamcode.com/packages/pylon/beta-0.0.1/pylon-window-x86.exe"
- Add the file path to
PATH
Develop your first project in Pylon
Create a development environment
By specifying a Git project address, you can create a development environment with Pylon that runs locally.
$ pylon create https://github.com/ninemarks/gatsby-starter-blogGathering Facts...config.yaml Detectedyaml {Image:{Registry:node:16.13.1-stretch Dockerfile:} Network:{Ports:[8080:8080]} Build:{Command:} Run:{Command:}}Start Building Dev ContainerStep 1/9 : FROM node:16.13.1-stretch---> 8c1751caae47Step 2/9 : USER root---> Using cache---> fbce63479b11Step 3/9 : ADD ./layer /layer---> Using cache---> c4e7e5c4ef17Step 4/9 : RUN chmod u+x -R /layer && /layer/detect-distro.sh && rm -rf /layer && mkdir -p /workspace && chown -R teamcode:teamcode /workspace---> Using cache---> 3219e2329d95Step 5/9 : WORKDIR /workspace---> Using cache---> acf188028572Step 6/9 : VOLUME ["/workspace", "/home/teamcode"]---> Using cache---> ccb682a55ee1Step 7/9 : USER teamcode---> Using cache---> 6951e1b504b2Step 8/9 : LABEL pylon.git-url=https://github.com/ninemarks/gatsby-starter-blog.git---> Using cache---> dd7bb42de52aStep 9/9 : LABEL pylon.name=gatsby-starter-blog---> Using cache---> c41ccf98c5cfSuccessfully built c41ccf98c5cfSuccessfully tagged registry.teamcode.com/pylon/gatsby-starter-blog:latestError response from daemon: Conflict. The container name "/gatsby-starter-blog" is already in use by container "5592dd5a9dbce2652643b95a4696fb314114cb20fac231ac9306a3c8d4fc803d". You have to remove (or rename) that container to be able to reuse that name.
Start the development environment
When you have created the development environment, you can launch it.
$ pylon start --name=gatsby-starter-blogDev Container StartedInit Script Executed
Use IDE to connect the environment to code
VSCode
After opening VSCode, click into Remote Container and select the container to create.
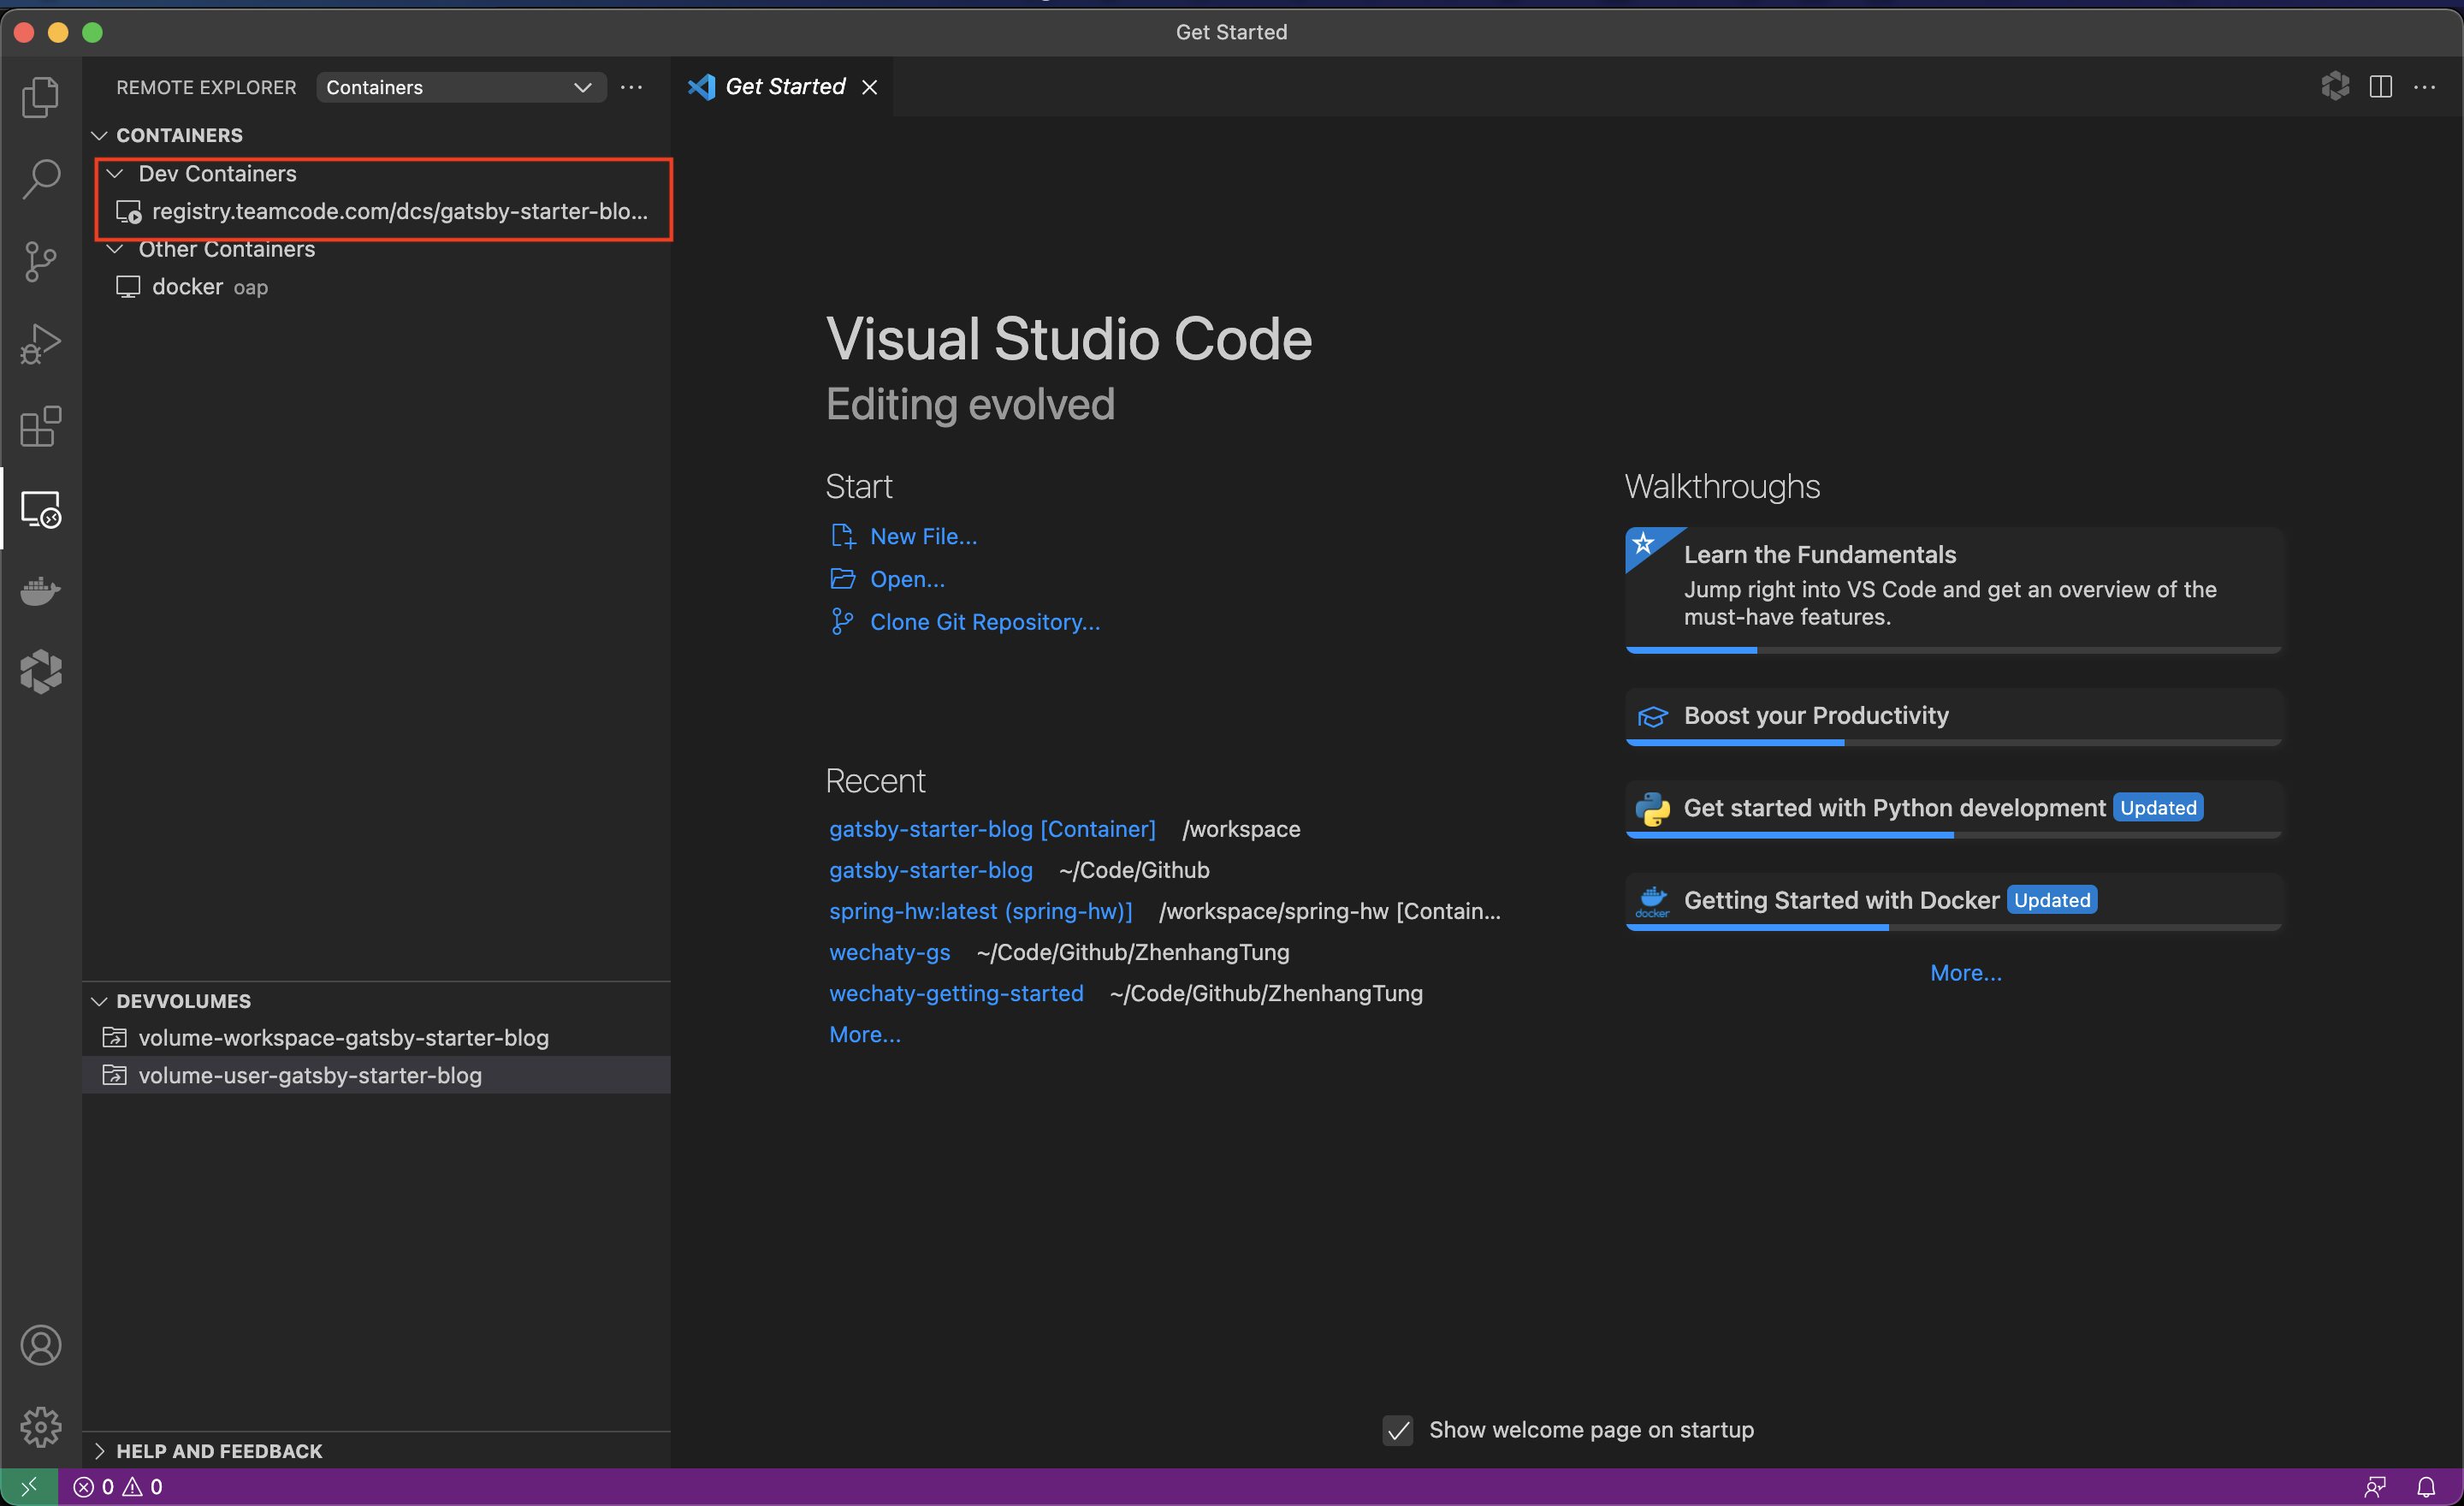
Open this project and start coding.
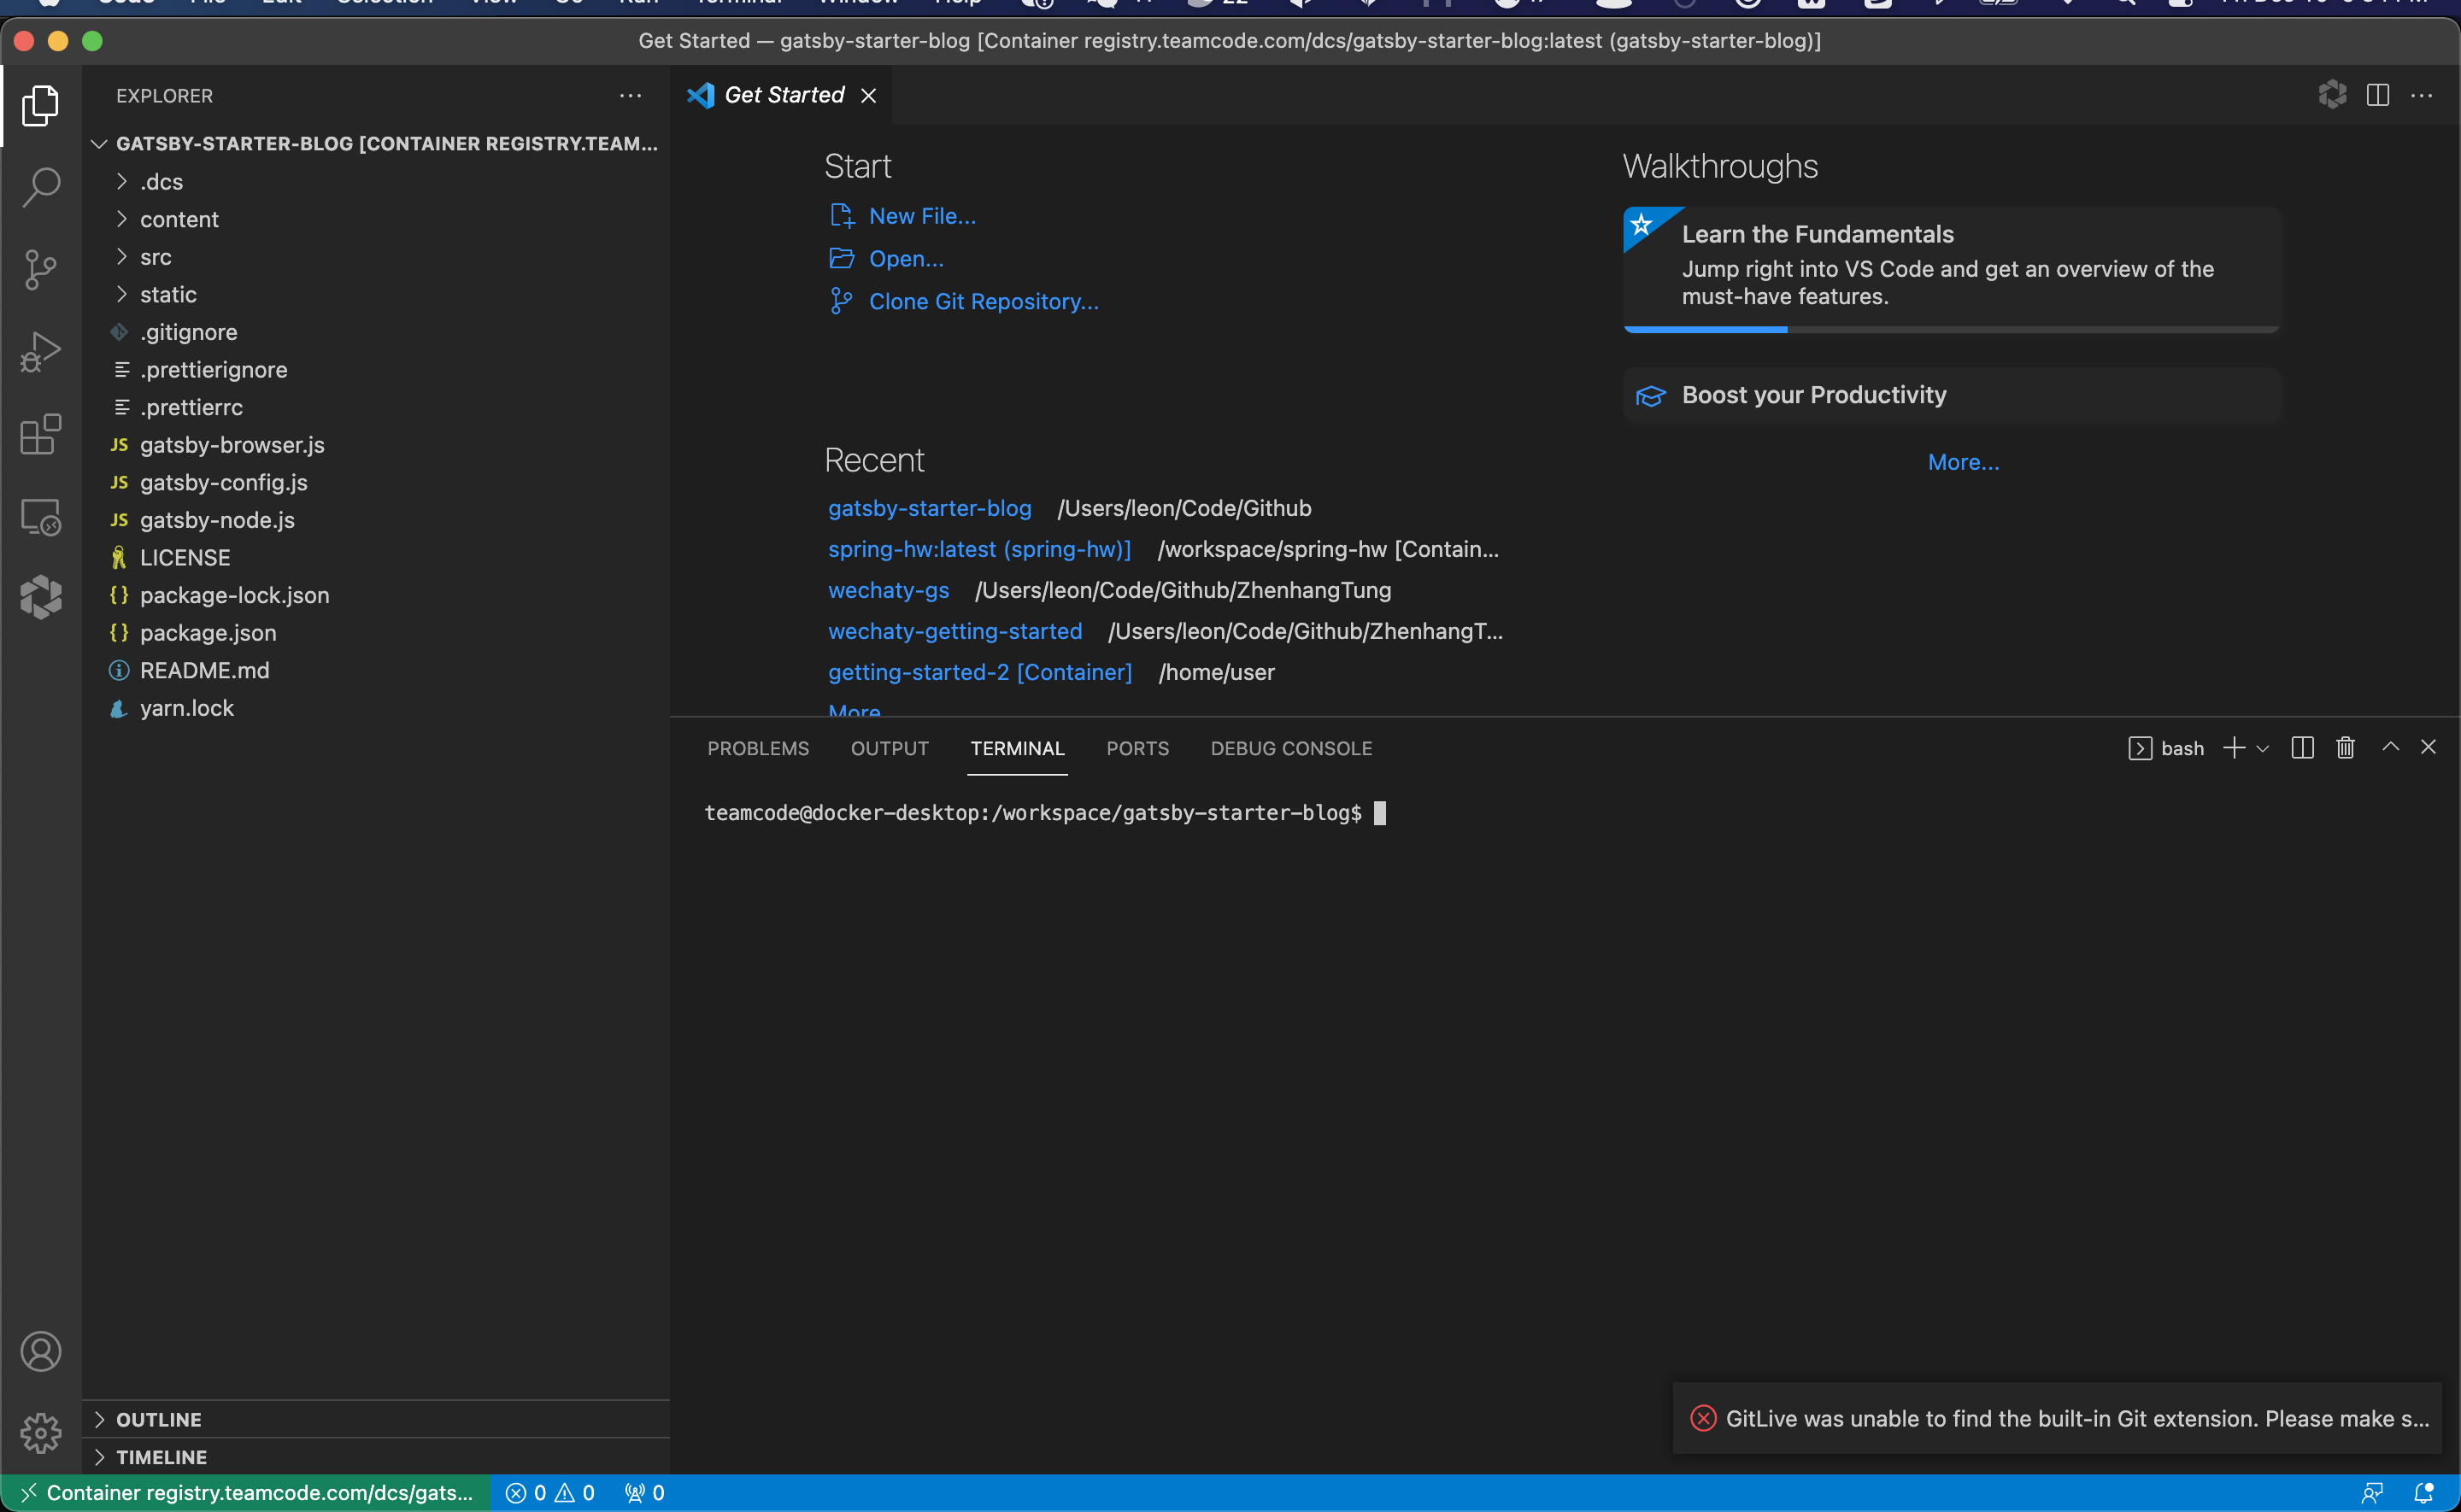
Run npm install to install project dependencies.
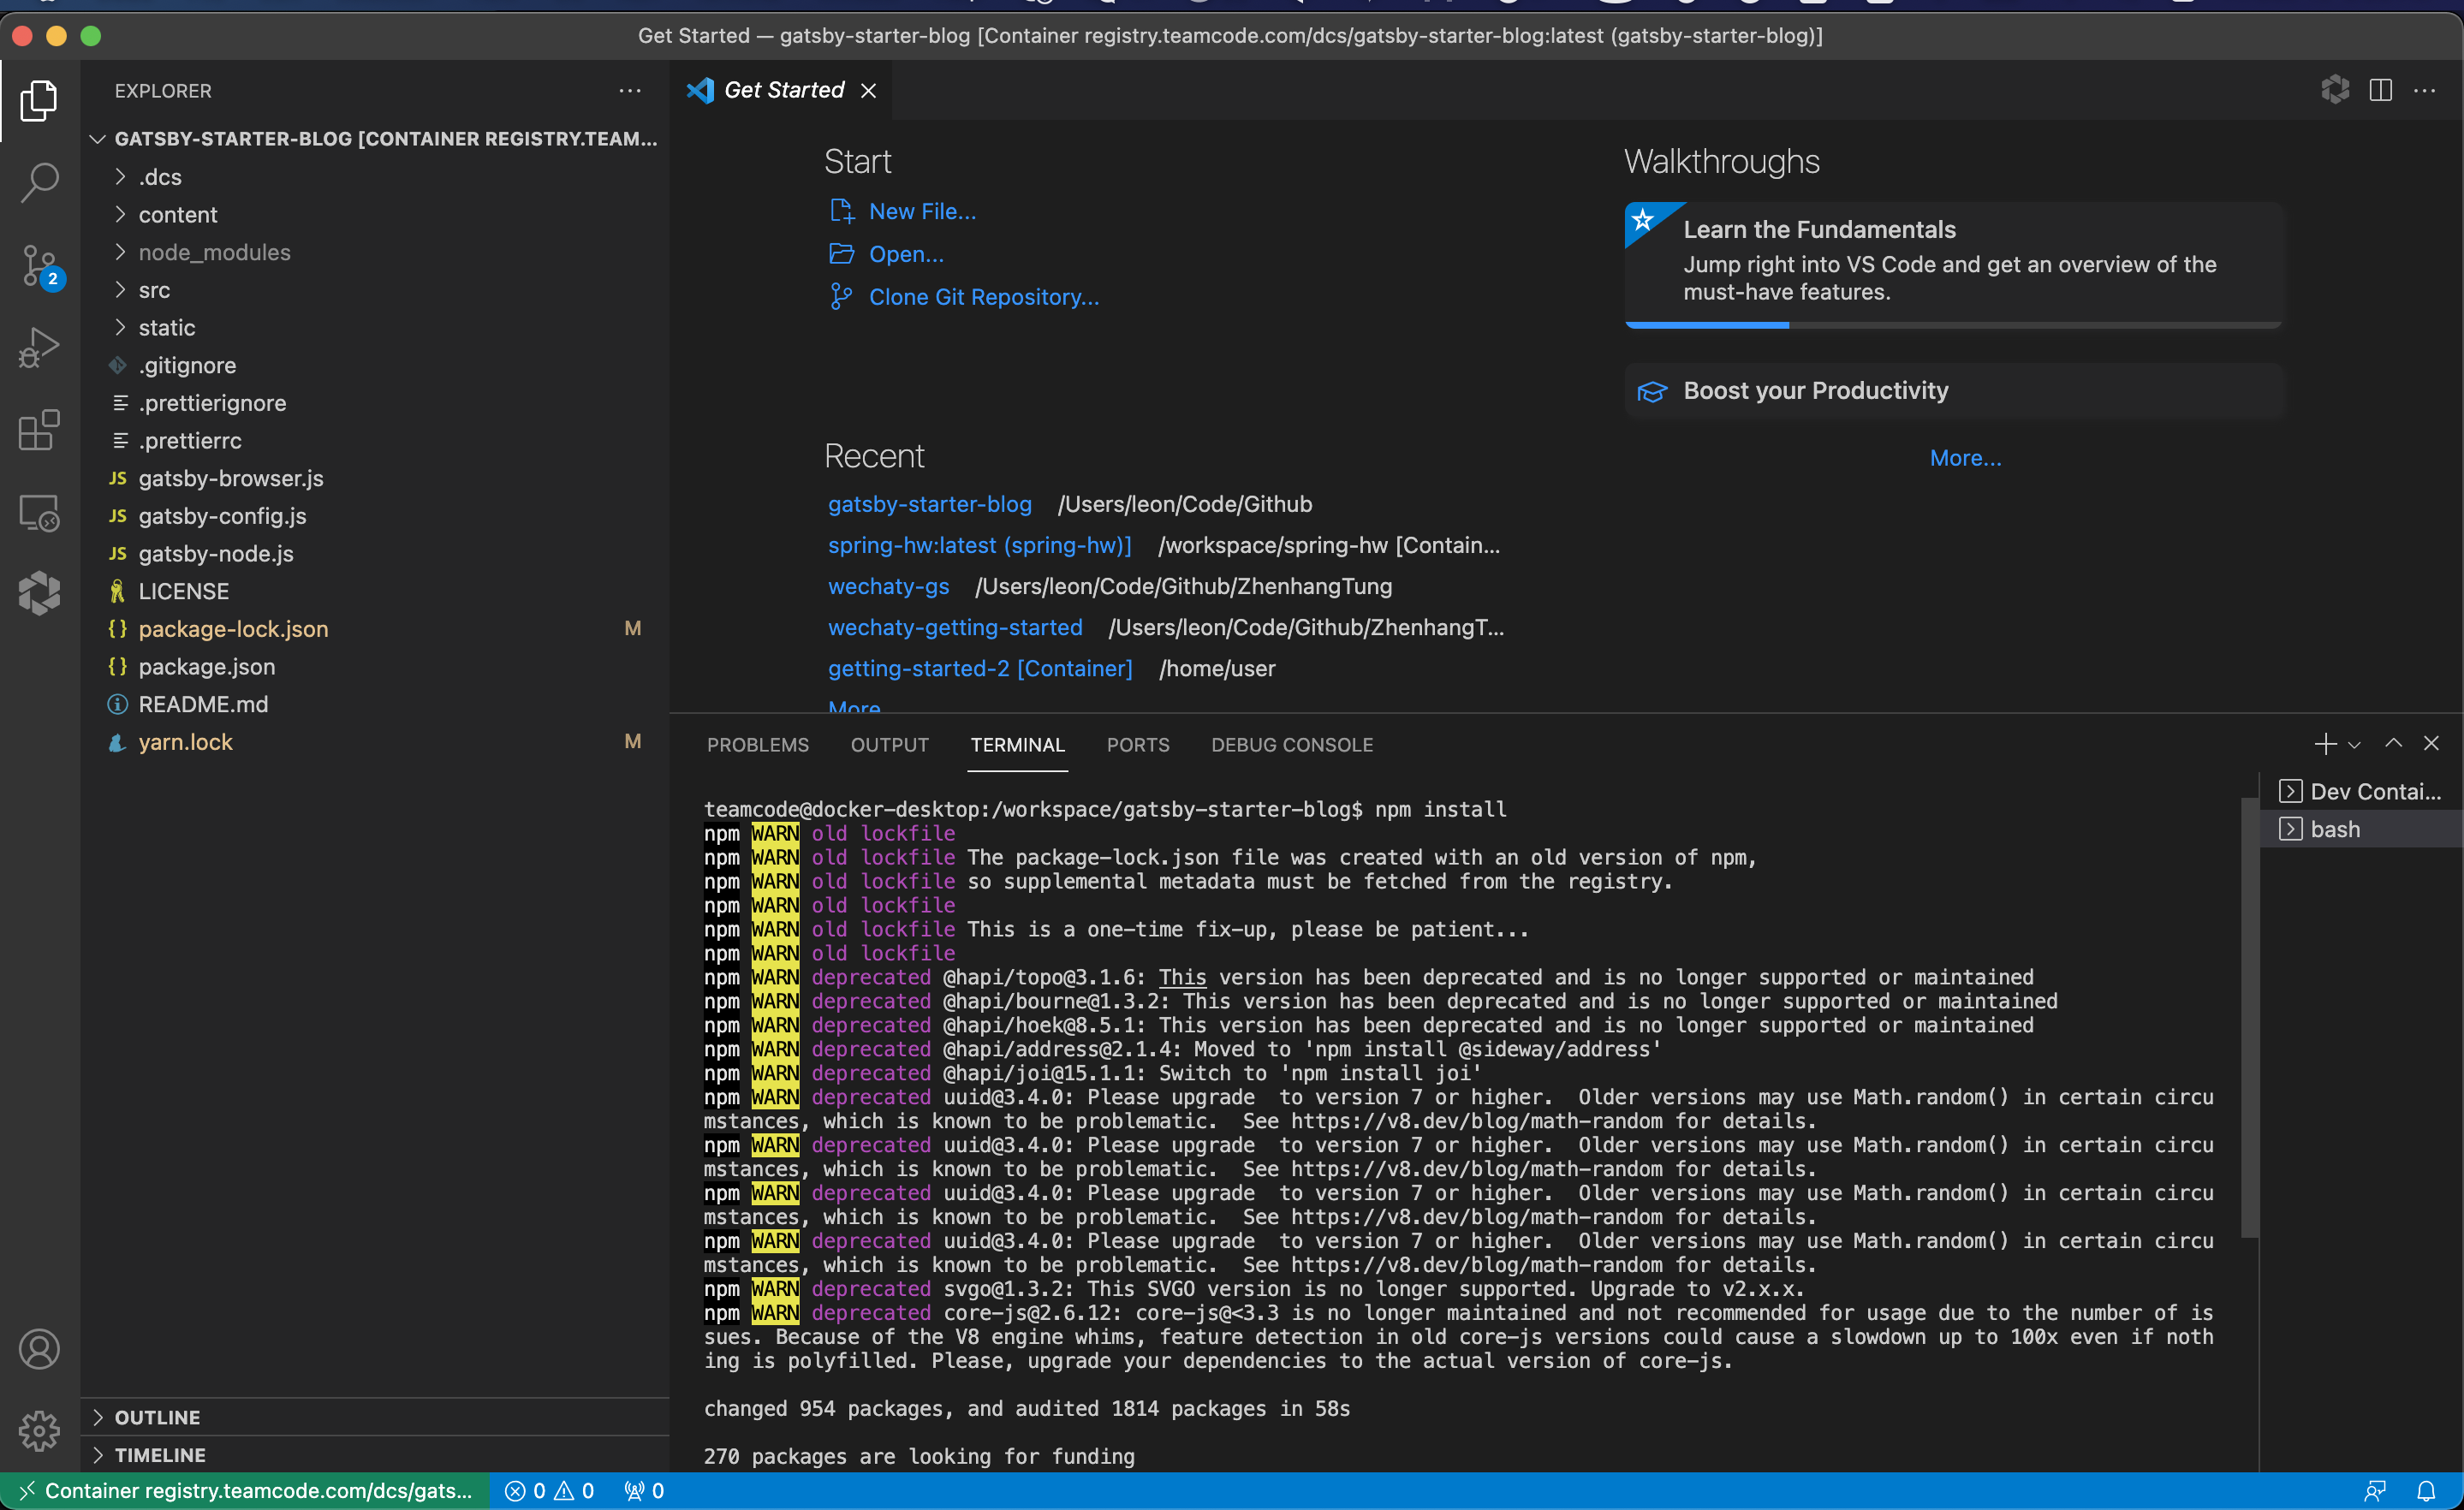
Then run npm start to start the project.
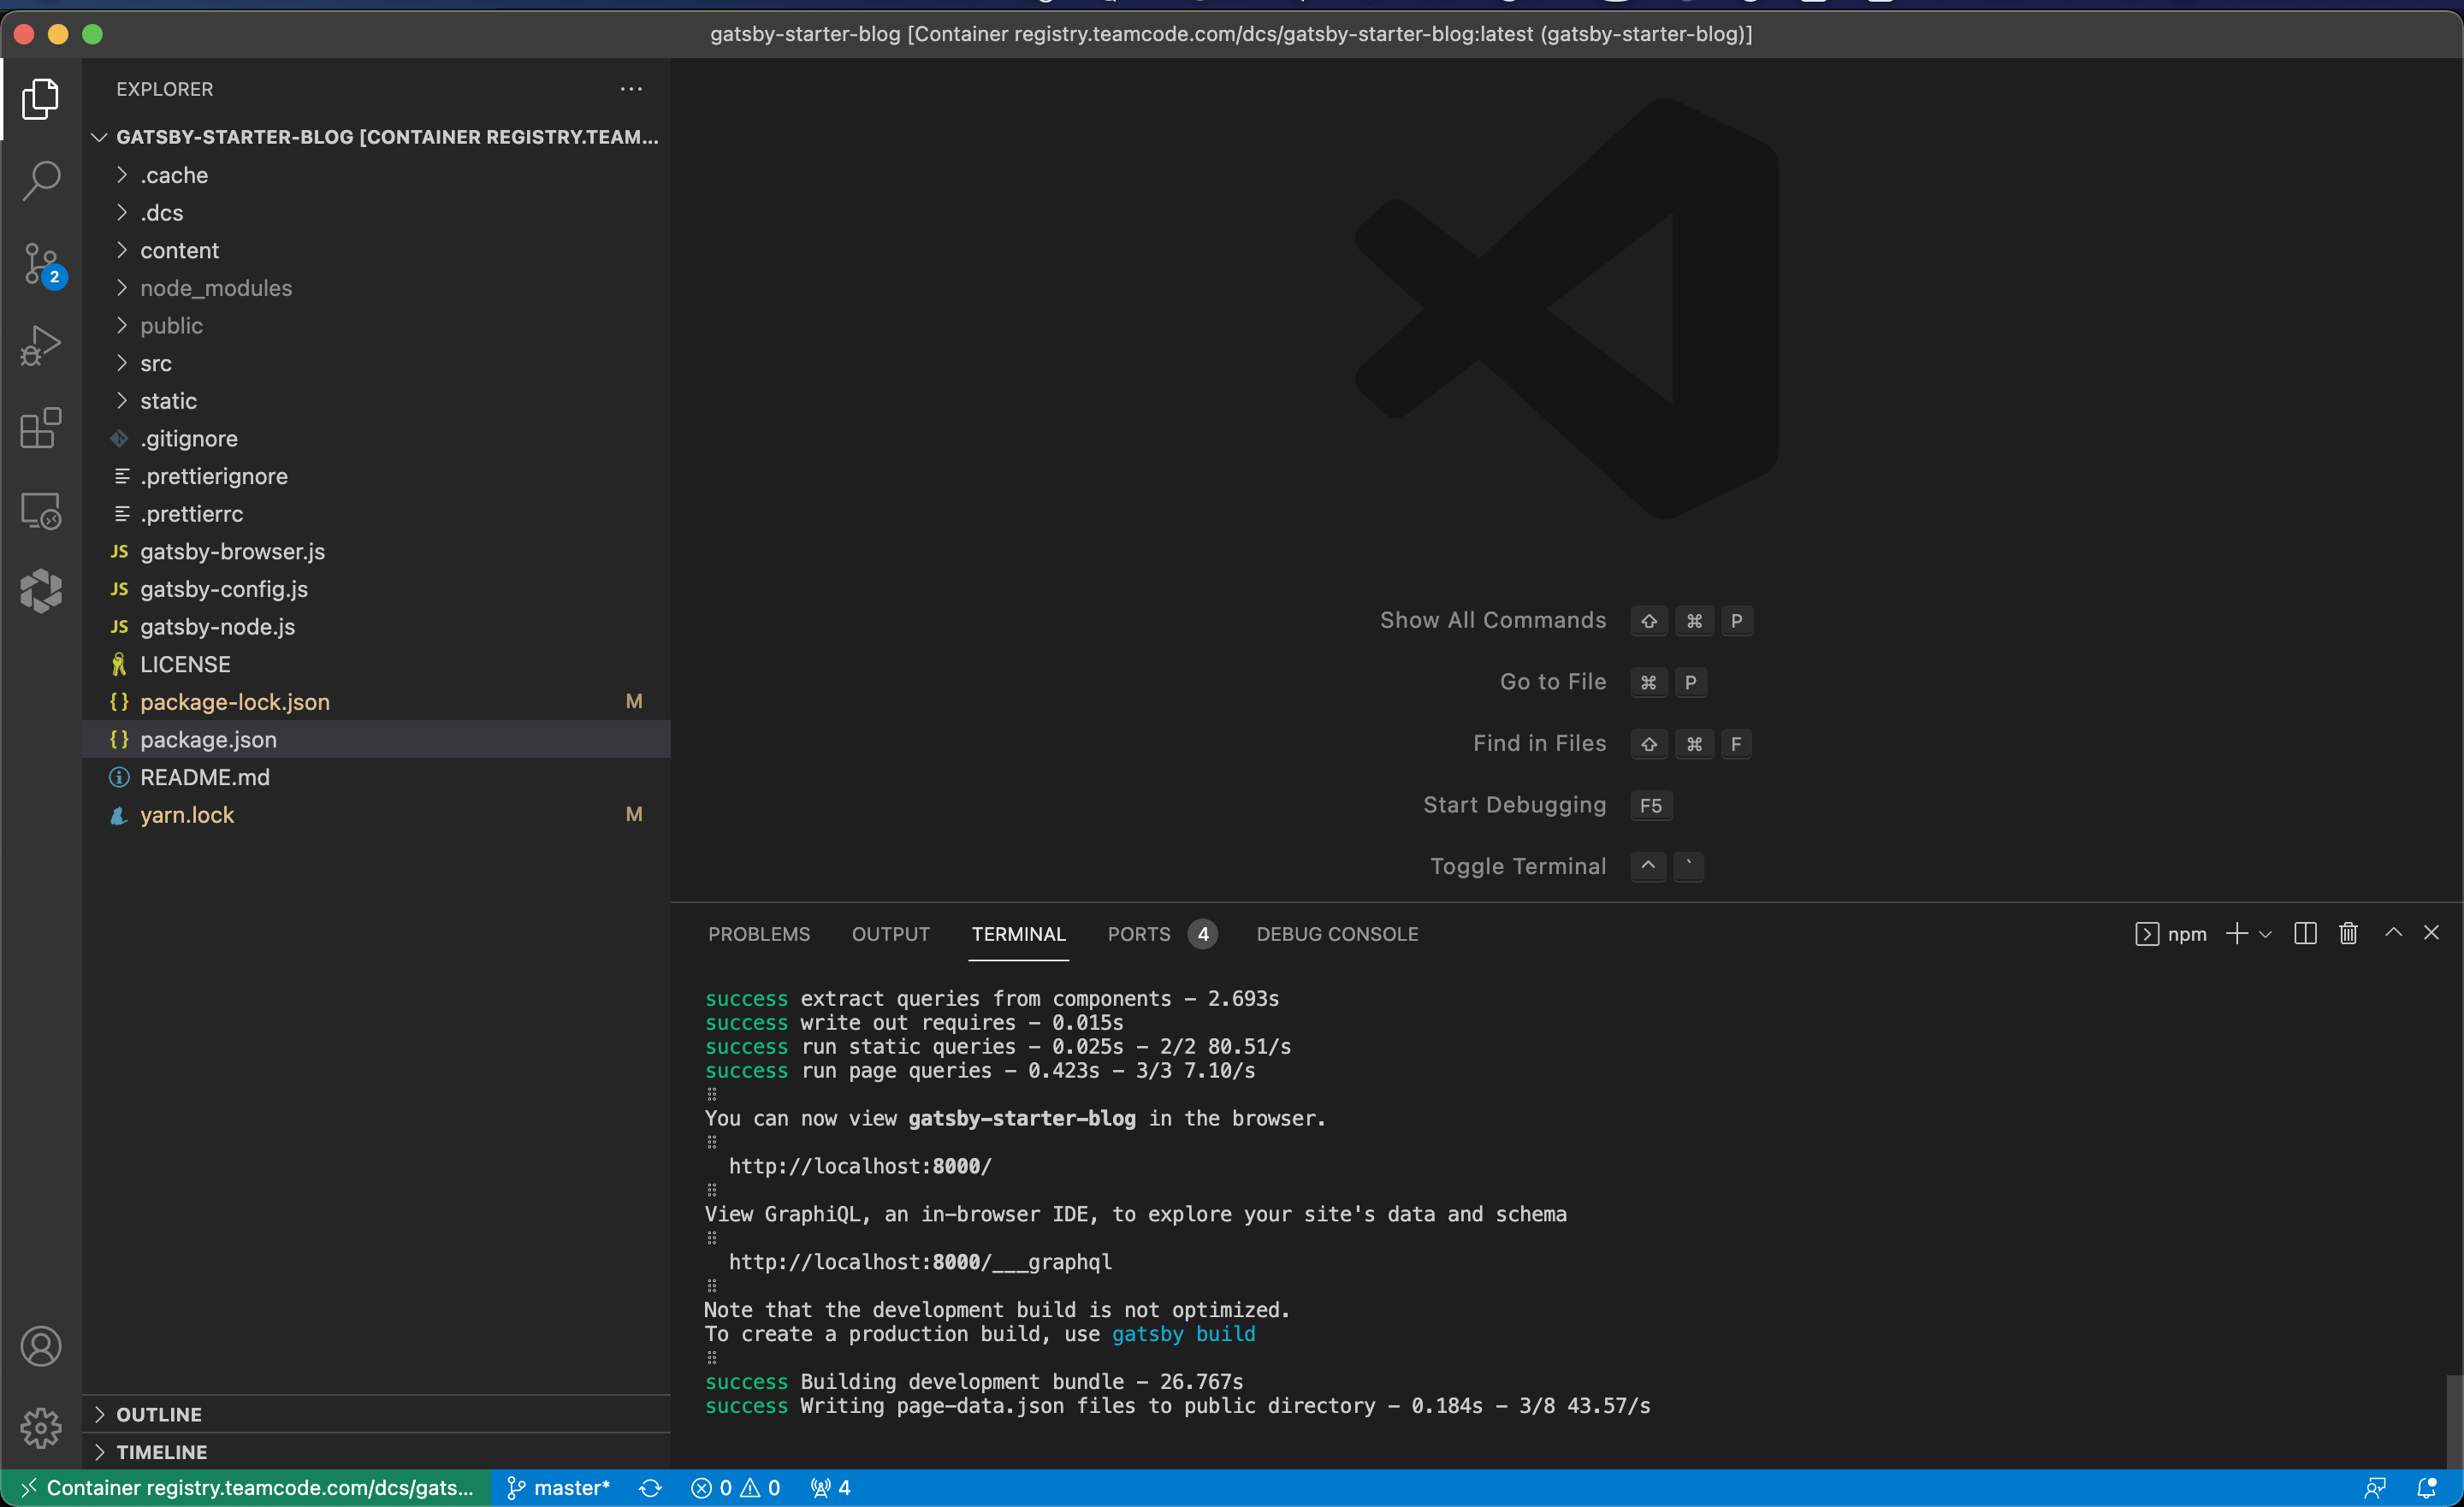
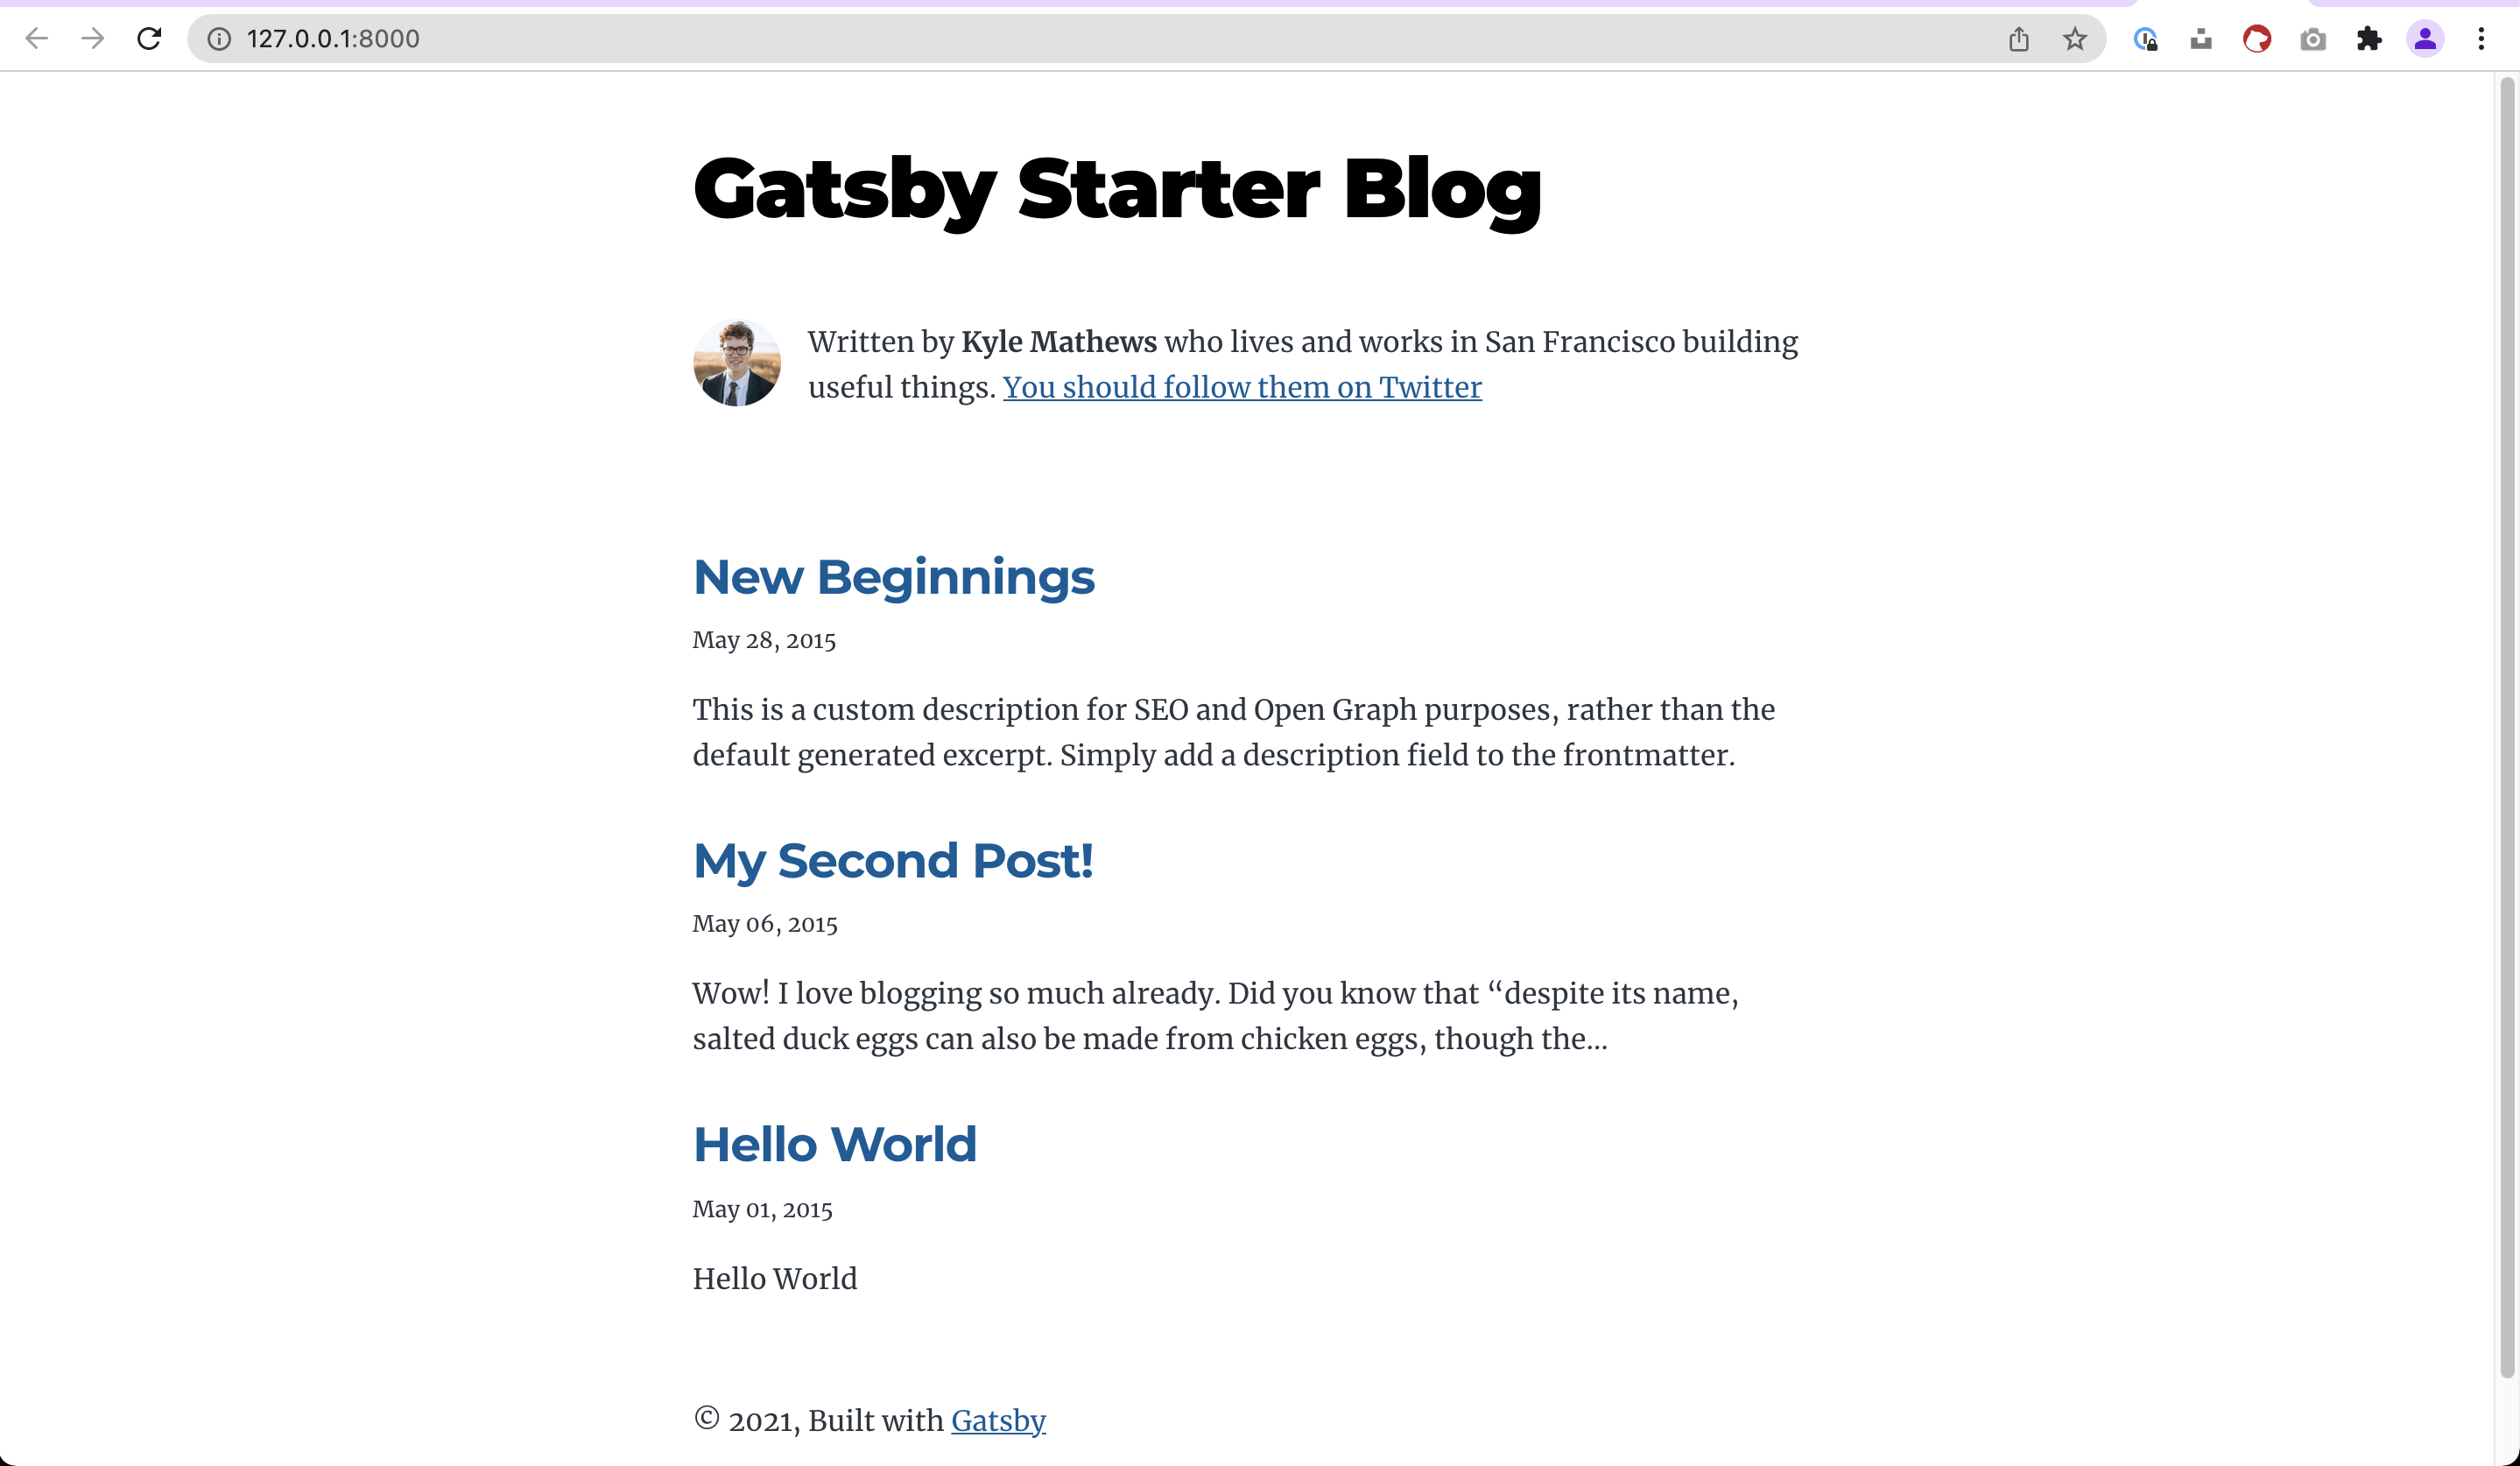
Visit the page
Open a browser and visit http://127.0.0.1:8000/ to visit the home page of the project
Stop the development environment
You can stop the development environment anytime you want.
$ pylon stop --name=gatsby-starter-blog
Delete the development environment
If you no longer need to develop your project, you can delete the development environment for your project.
$ pylon rm --name=gatsby-starter-blog