Cloud CollaborativeDevelopment Platform
Support rapid application startup, cross-platform, and multi-language cloud collaborative development.


What we offer
Automatically build and quickly generate runnable applications.
Support for multiple deployment methods (Docker Image, Docker Compose, Dockerfile, Source Code).
Launch your Tin app in seconds.
Easily share your Tin app with others.
Automatically generate flexible and scalable cloud development environments.
Support for local and cloud IDE connected development environments.
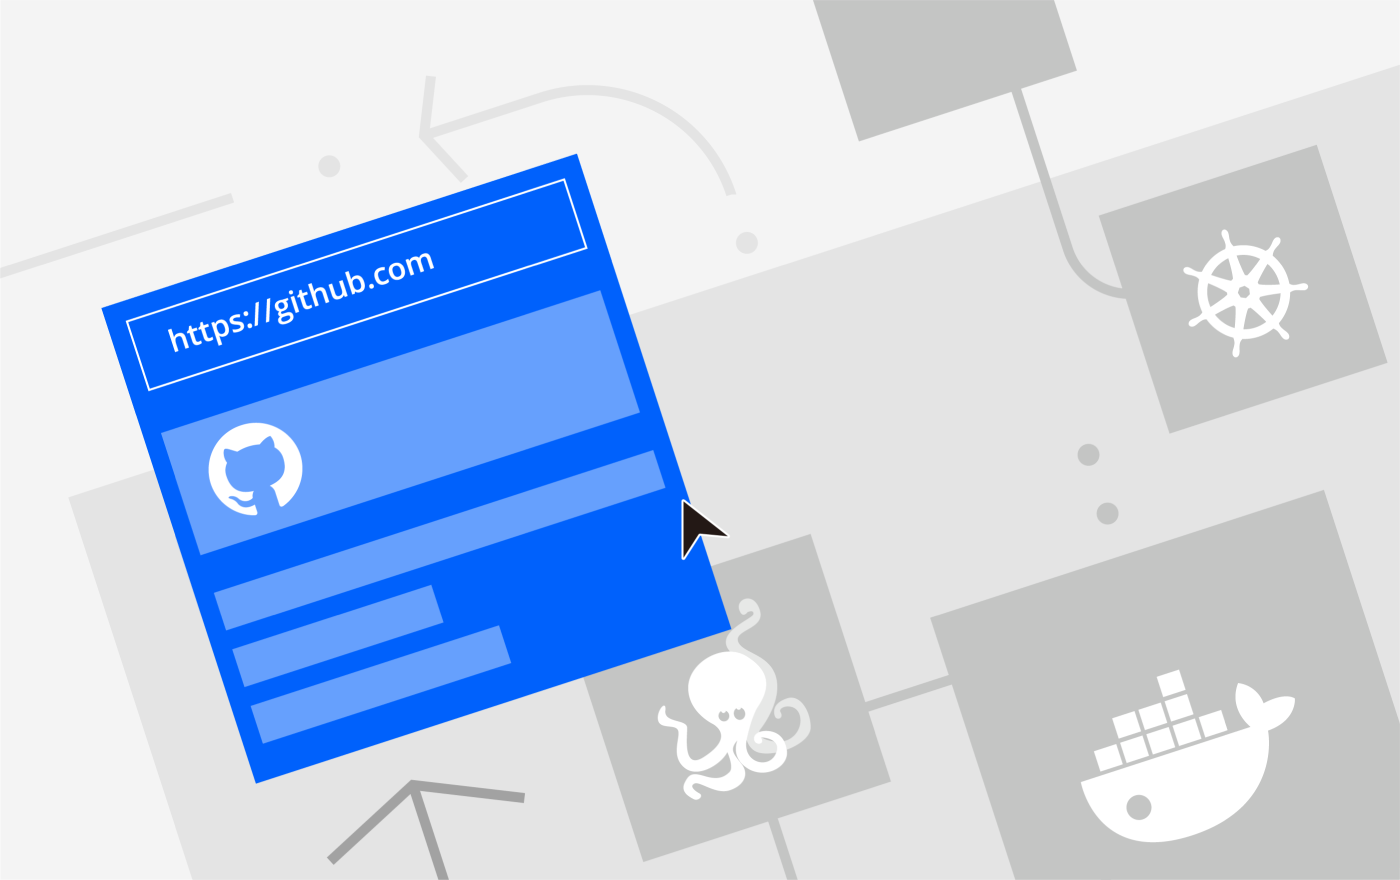
Just filling in your Git address can automatically generate a development environment and start coding.
Enable consistent management of local and cloud development environments.

Lightweight online IDE that opens any project at any time and connects to development environments on the cloud.
Support for multiple programming languages (Go, Python, Java, JavaScript, etc.).
Regardless of the operating system, open your browser and start coding.
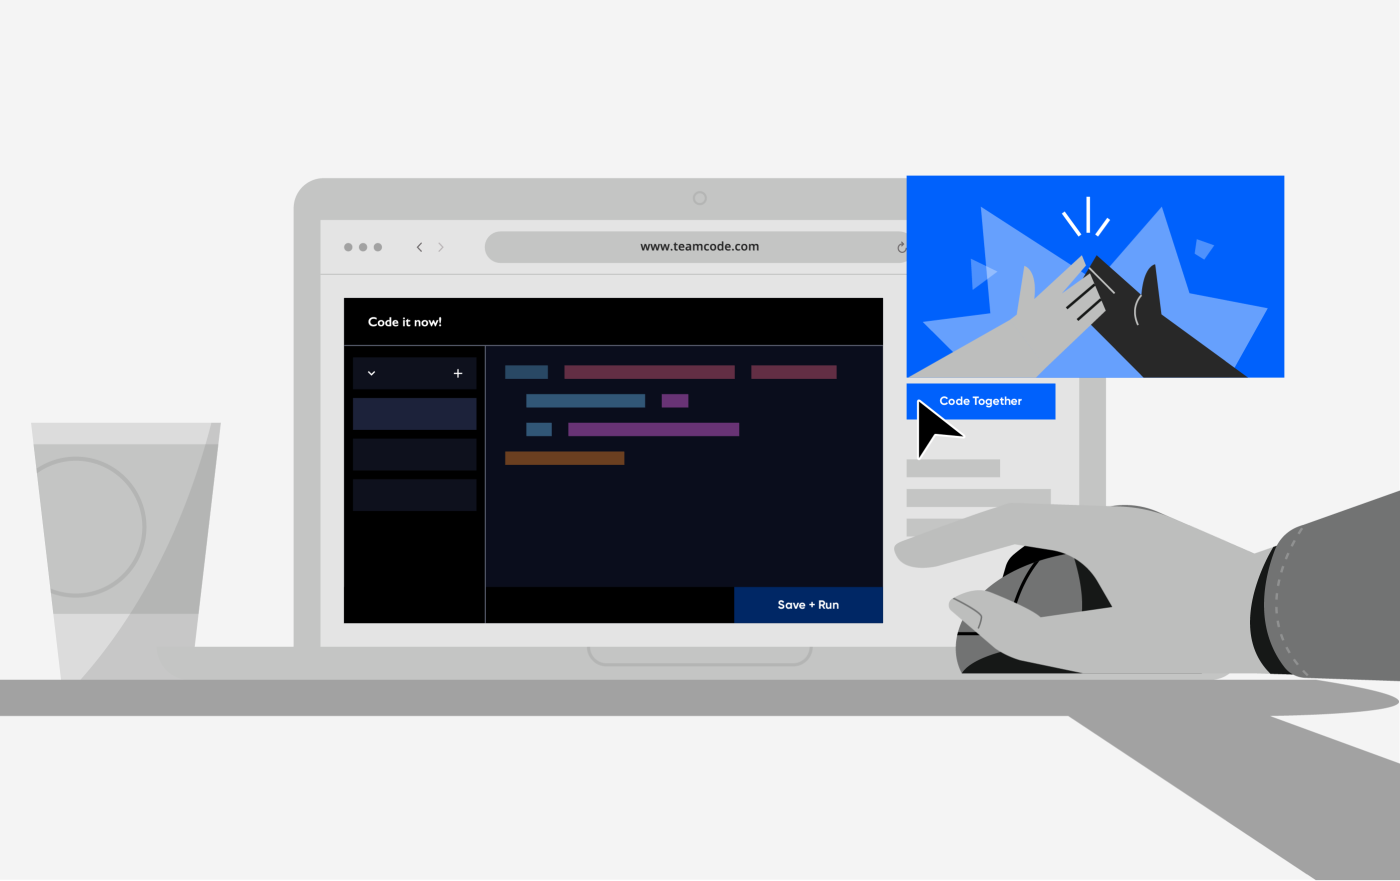
Support team members to cooperate in development and code together on the cloud.
How TeamCode can make you more productive?
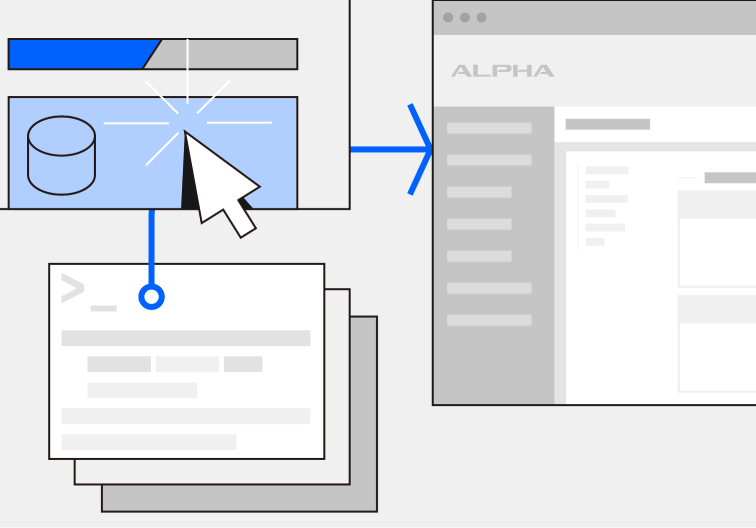
TeamCode offers Tin to help you quickly deploy from source code to application. Compute resources are used on demand and released at any time .
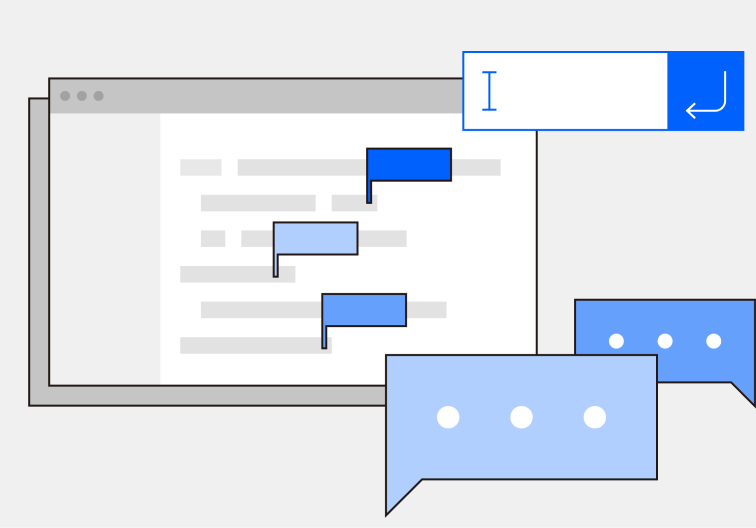
TeamCode offers the Cloud-IDE to help you quickly start developing projects in any language. You can also develop collaboratively with anyone, anywhere. Just open your browser and start your development.

TeamCode provides Pylon to help you automate your development environment. Cloud-IDE allows your team members to code on any device in any browser. We also support local IDEs, allowing you to choose any way of development that you like.
Free trial available every month.